
Inkscape Art: Pattern Along Path
Nick Nagel's Procedural Art with Inkscape Series
Featured in this Post ...
Inkscape's pattern along path .
Introduction
This post is one in an ongoing series of mine on Inkscape features and techniques for creating SVG artworks. Even though I've been using Inkscape for more years than I care to count, the SVG creation software is so feature-rich that I continue to discover new techniques and processes for creating SVG art all the time. With such a vast array of functionality it can be hard to keep all of it in mind.

So I started this blog series in order to catalog and provide references to Inkscape features as I continue to explore the intersection of vector graphics, procedural art, animation and AI. Like I always say -- the faintest ink is truer than the sharpest memory!
On Hair
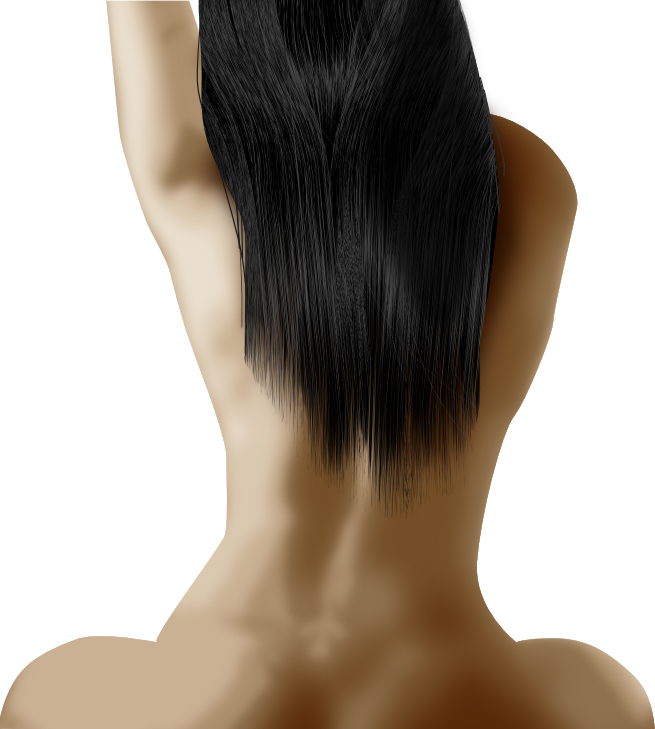
One of the earliest challenges I faced way back when I started creating SVG artworks was doing hair. Any artist will tell you -- when you're drawing hair don't worry about all the individual strands. Instead, the best artists are successful at creating a seamless blend of light and shadow to create depth, and then adding details and texture to suggest the hair's appearance without getting overwhelmed by each and every strand.
Pro Tip: When you want to create hair focus on capturing the overall shape and flow of the mass, and then use shading and highlights to create depth and texture.
All this is true even if your end game is hyper-realism. Even then, you're never going to reproduce every strand with true fidelity -- so don't worry about it! The question here is how can you achieve a seamless blend of abstracted detail to achieve your artistic intent with SVG. There are many different techniques that can be used. Here I'll focus on an approach to create highlights procedurally using Inkscape 1 .
Adding Depth and Body to your Hair
The approach essentially boils down to:
-
Creating a texture with
jitterand -
Shaping it with
pattern along path.
If you're drawing a figure and create a shape to represent the hair in SVG it will look flat and very 2D. There's nothing wrong with that but if you want to add body and provide the illusion of depth you'll want to add shade and highlights. Adding highlights that look like hair means creating shapes with potentially hundreds of nodes. And it would be impossible to do that manually. Luckily, Inkscape lets us do that procedurally.
Procedure
First, create a pseudo random shape to use for highlights.

-
Start with a simple line using the Bézier tool.
-
Convert the line to a path:
Path > Stroke to Path. -
Add nodes to the path:
Extensions > Modify Path > Add Nodes. -
Use jitter to pseudo randomly "shake up" the nodes:
Extensions > Modify Path > Jitter Nodes.
That gives you the jagged shape which you can use as input to create the highlights you want for the hair.
To create those highlights use Pattern along Path :
Extensions > Generate from Path > Pattern along Path
To use Pattern along Path for this ...

-
First, create a Bézier path. Make sure to add the path after you create the jagged shape (in order for the
Pattern along Pathtool to correctly structure its inputs). -
Squeeze and stretch the jagged shape as shown to the right.
-
Finally, apply
Pattern along Pathto 'bend' the highlight pattern to your needs for a seamless composition .
And voilà there you have it. A pure SVG solution to achieving textured highlights.

Summary and Conclusion
This post is the first in a series on procedural art with Inkscape. In this post I focused on jitter nodes and pattern along path. Inkscape is a fantastic and feature-rich system which has been around for many years. It is 100% open-source and freely available -- and it enjoys fantastic community support. If you haven't already, I highly recommend you download and start using Inkscape today! What's stopping you?
Endnotes
- The technique I'm focusing on in this particular post was inspired by a classic Inkscape tutorial I first discovered many years ago. The core procedural approach of using
Jitter NodesandPattern along Pathwas originally outlined in the blog post "Drawing hairs" by Chrisdesign which, at the time of writing, can be viewed here ...
Resources
- Hair Brushes in Adobe Illustrator. Even though this is an Adobe Illustrator tut I'm listing it here because the illustration techniques it describes are compatible with this post's topic and can easily be adapted to work in Inkscape.